Last updated November 17, 2026
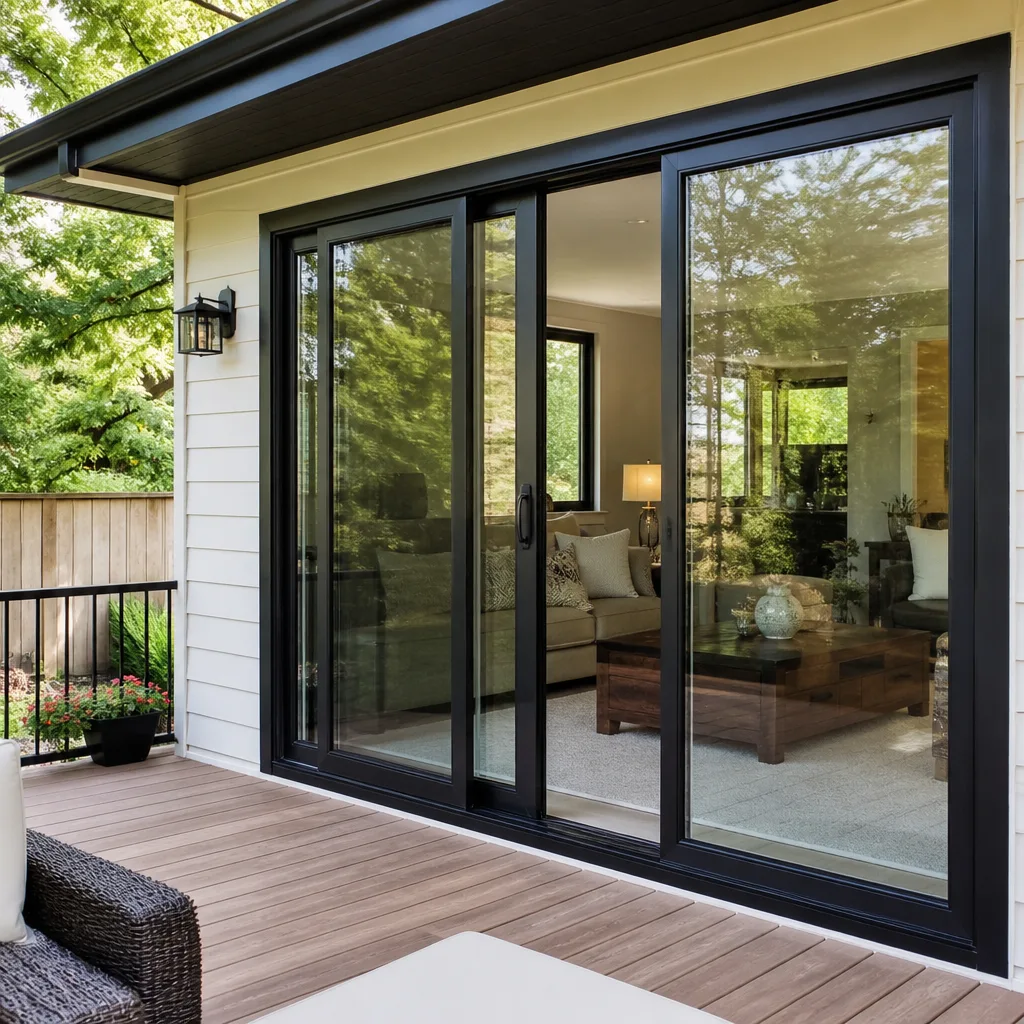 Sliding glass doors
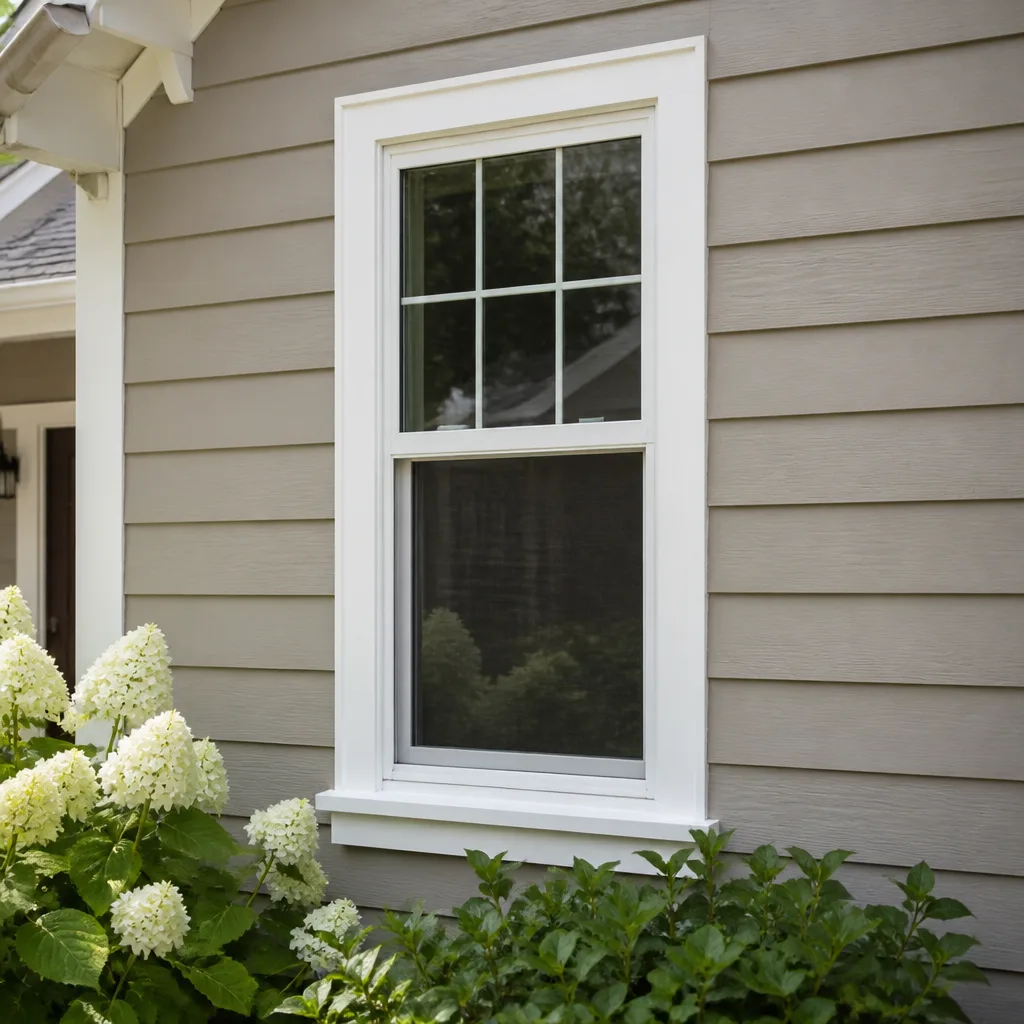 Single hung
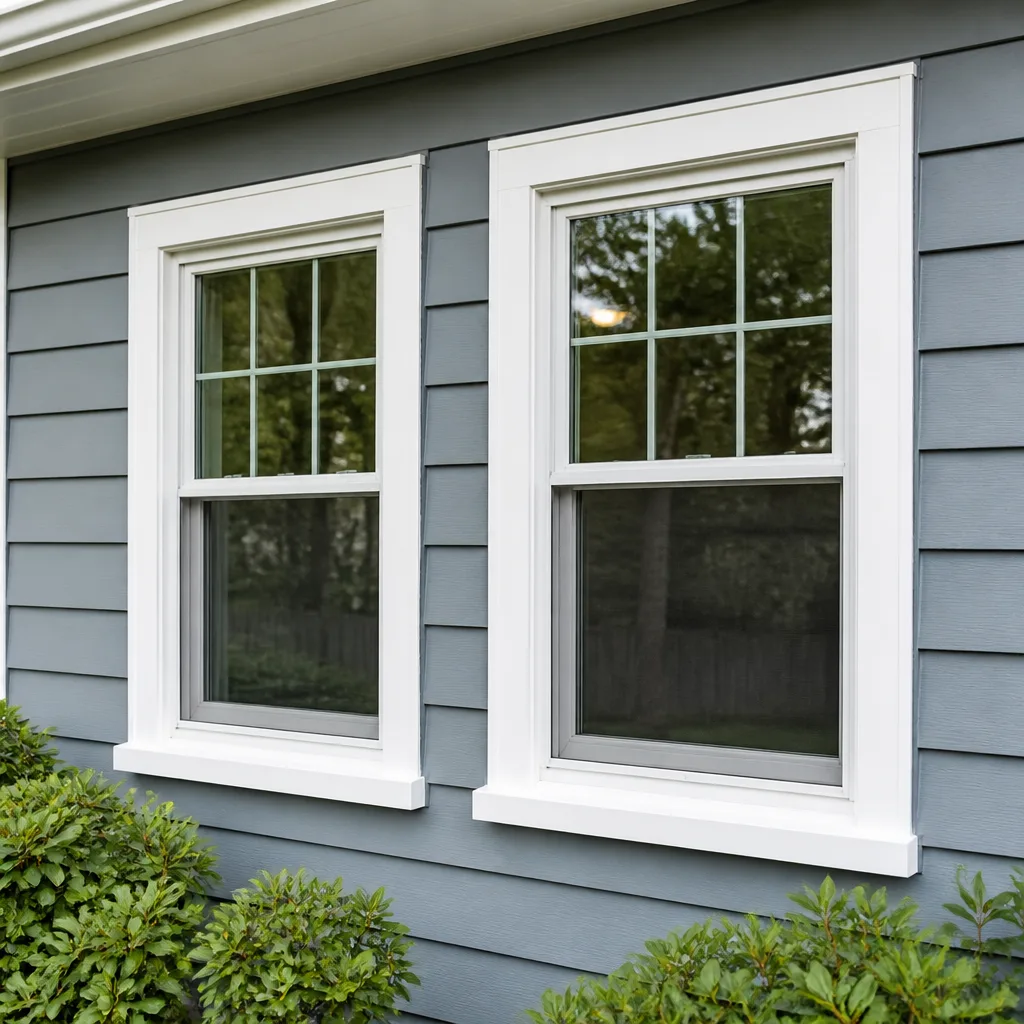 Double hung
 Horizontal roller
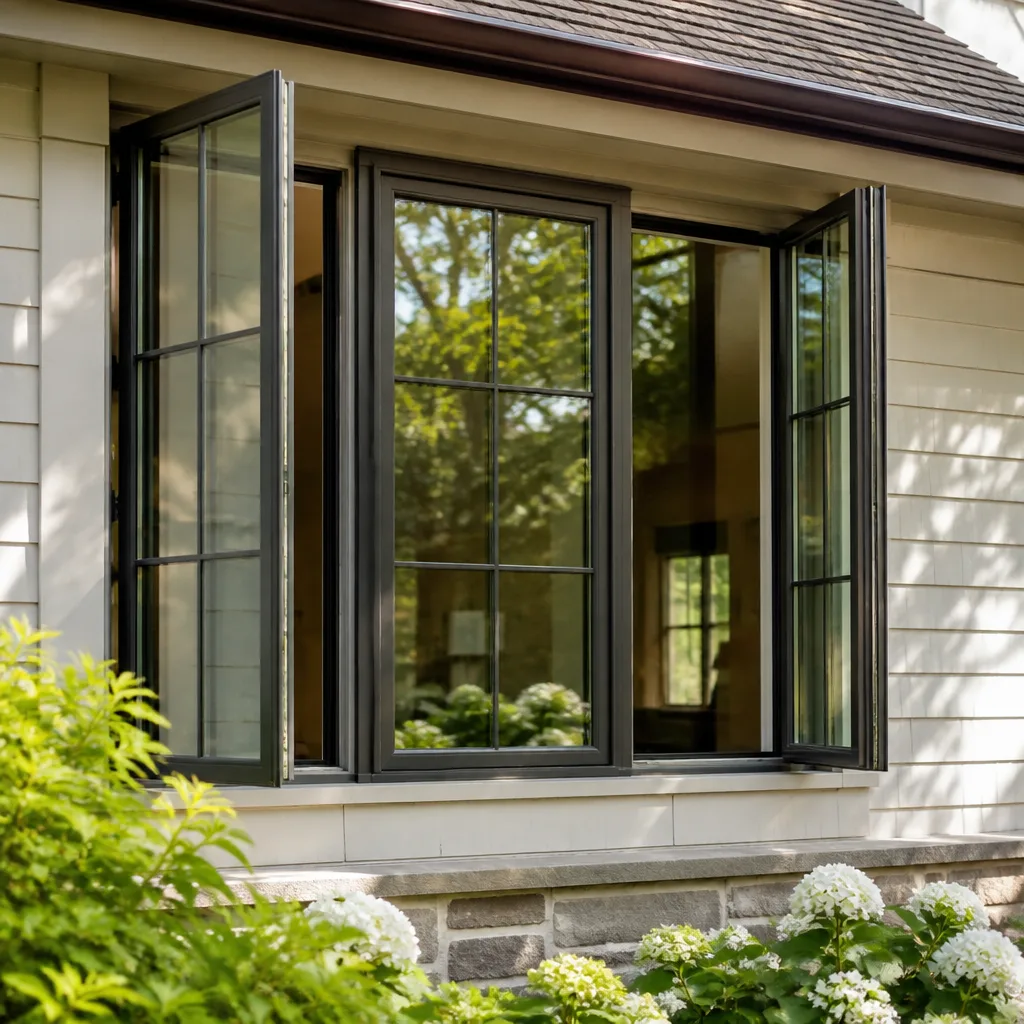 Casement
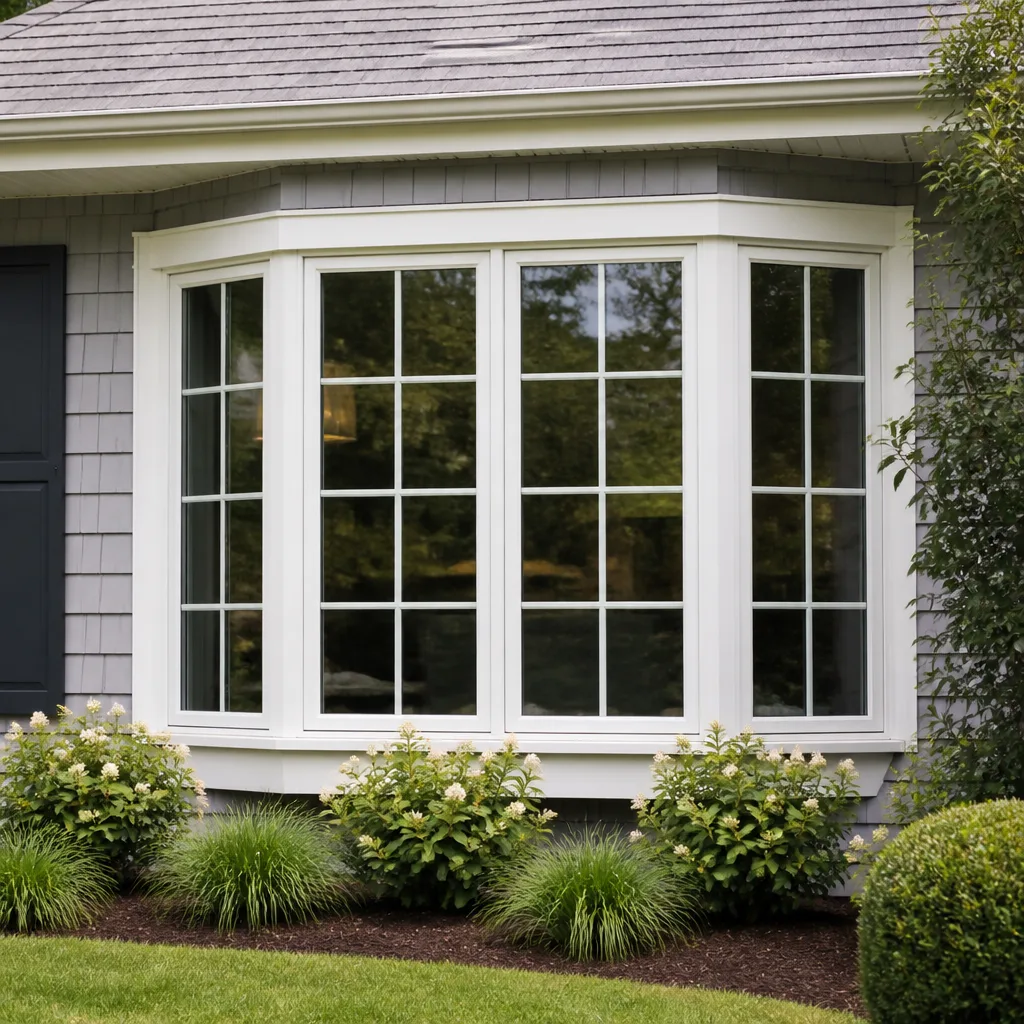 Bay & bow
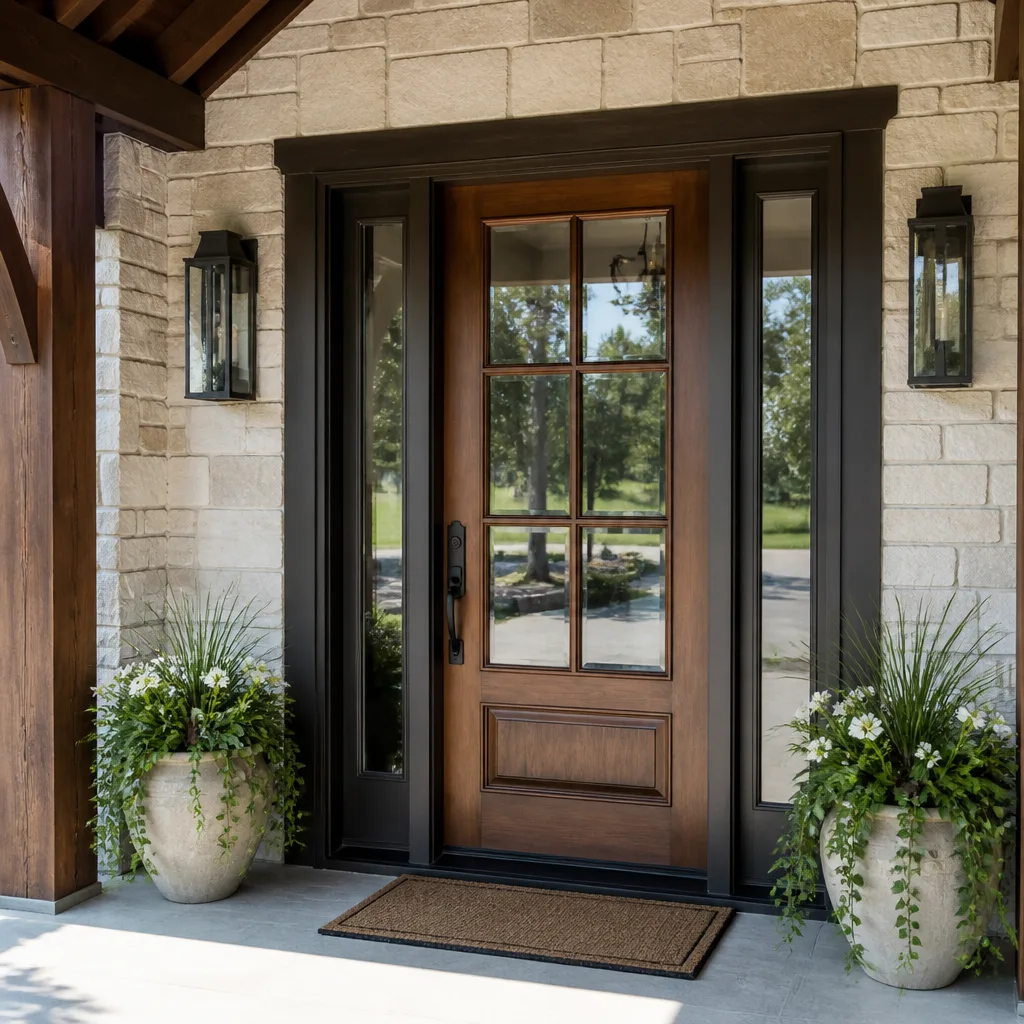 Entry doors
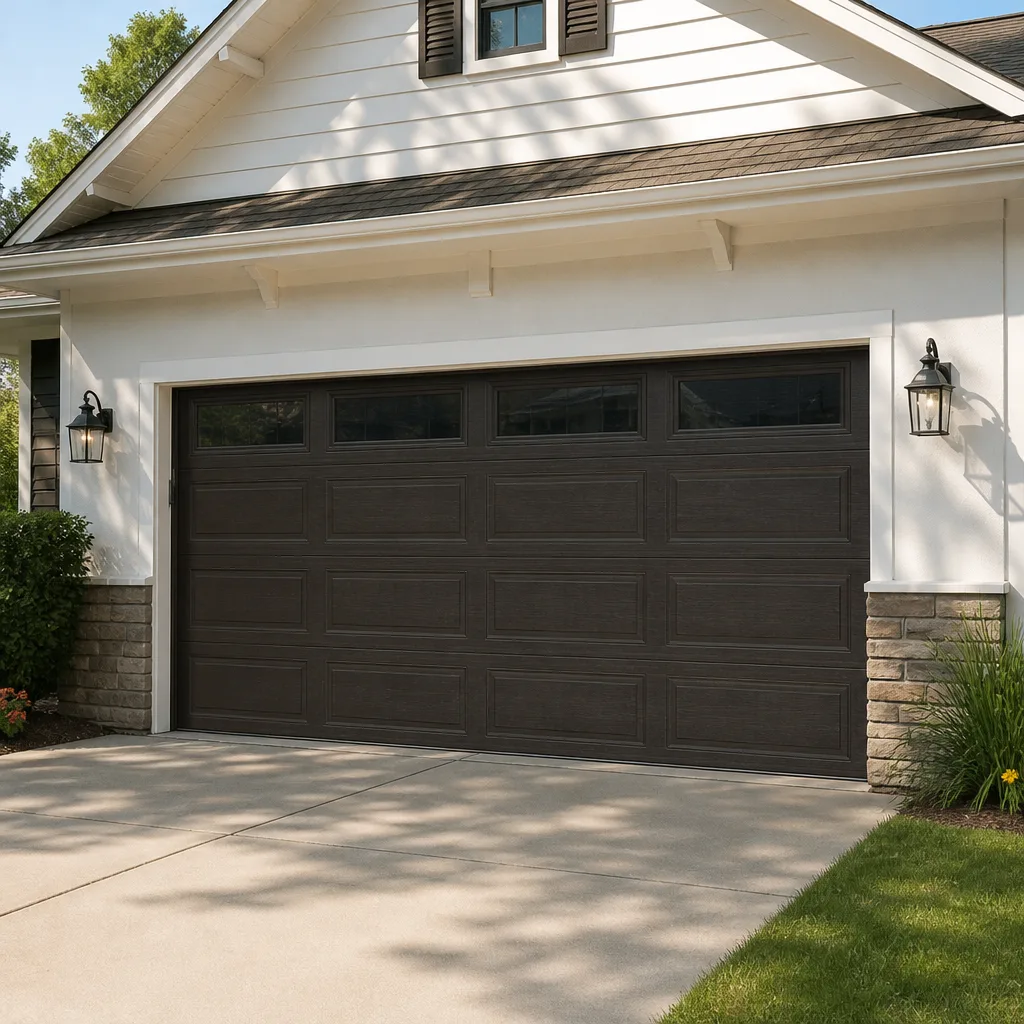 Impact garage doors
 PGT
 CGI
Free in-home measure and quote - PGT, CGI and CWS impact lines compared on your actual openings, style by style
Get your free estimateDIY vs Professional Windows & Doors: The Paradise Homeowner’s Decision Guide
Here’s the part most DIY window tutorials skip: the moment you pop that factory seal and set a window yourself, you can void the insulated glass unit warranty on the product. Not the whole window in every case, but the sealed glass assembly – the part most likely to fail in Paradise’s heat. The labor math usually looks simple ($200 saved per window), but the warranty math rarely gets mentioned. This guide covers exactly what DIY forfeits, which tasks are genuinely safe to do yourself, what a failed installation really costs to undo, and how Nevada contractor licensing treats homeowner-installed work at resale.
Styles & brands we work with
- Single hung
- Double hung
- Horizontal roller
- Casement
- Bay & bow
- Sliding glass doors
- Entry doors
- Impact garage doors
- PGT
- CGI
Quick Answer
For most Paradise homeowners, professional installation is the right call for the window or door itself, while interior trim finishing, hardware swaps, and screen replacement are reasonable DIY projects. The deciding factors aren’t skill alone: they’re warranty requirements, stucco detailing, and Nevada disclosure rules. A licensed installer with manufacturer authorization protects both the product warranty and your ability to sell the home without a paperwork headache.
Table of Contents
- What the Warranty Actually Says About DIY
- Why Stucco-Clad Homes Raise the Stakes
- What a Botched Installation Costs to Fix
- The Narrow List of Genuinely DIY-Friendly Tasks
- Nevada Licensing, Permits, and Resale Disclosure
- Doors Are a Different Conversation
- Matching Product to Home Instead of the Other Way Around
- Common Mistakes to Avoid
- When to Call a Professional
- Frequently Asked Questions
What the Warranty Actually Says About DIY
Most performance glass manufacturers require installation by a qualified or certified installer as a condition of the insulated glass unit (IGU) warranty. That single line is the quiet dealbreaker for DIY windows in Paradise. Skip it and you may still own a physically sound window, but the sealed glass assembly inside it can become an unprotected part with no coverage behind it.
The IGU is the factory-sealed sandwich of two panes with an inert gas fill and a spacer between them. When the seal fails, moisture enters, the glass fogs, and the assembly has to be replaced. In a place where summer surface temperatures push past 160°F on west-facing glass, seal failure is a real risk rather than a theoretical one. Repeated heat cycling expands and contracts the unit thousands of times over its service life, and a perfect factory seal is your only protection.
Here’s what the warranty language typically forfeits when installation isn’t done by an approved installer:
- Insulated glass unit coverage – the fogging and seal-failure protection
- Glass breakage coverage tied to installation handling
- Frame and sash coverage where damage traces back to installation method
- Labor allowances for replacing a failed unit
- Manufacturer support for a claim the installer would normally file on your behalf
The installer matters as much as the brand lineup. When professionals install from name-brand lines – impact-rated products through PGT, energy-efficient options, or conventional lines – the paperwork is filed correctly and the warranty stays active. The $200-per-window labor saving looks very different once a fogged IGU has to be paid for out of pocket. We carry the brands we do because the warranty path is clear when installation follows the manufacturer’s method, in Paradise and everywhere else.
Why Stucco-Clad Homes Raise the Stakes
Most of Paradise’s housing stock is stucco-clad, and stucco changes the installation equation completely. Unlike siding, which can be opened and re-closed with relative forgiveness, stucco is a rigid cementitious skin with a weather-resistive barrier behind it. Get the flashing sequence wrong and water finds the wall cavity instead of draining outside it.
A proper stucco window replacement involves several steps that don’t tolerate shortcuts:
- Cut back the stucco around the opening to expose the framing and weather barrier.
- Inspect the weather-resistive barrier and repair any compromised sections.
- Set the window with shims plumb, level, and square, then fasten through the nailing flange.
- Apply self-adhering flashing in shingle-lap order – bottom sill first, then sides, then head.
- Install a backer rod and sealant joint at the perimeter, leaving weeps clear at the sill.
- Reinforce and re-stucco the patch, matching texture and color to the surrounding wall.
- Finish with interior trim, caulk, and paint touch-up.
Step four is where DIY installations most often go wrong. Flashing has to shed water downhill, lap over the layer below, and integrate with the weather barrier. Reverse-lap it and the wall looks finished while quietly trapping moisture behind the stucco. Add the desert sun that bakes west and south walls through Paradise summers and a small flashing error becomes a slow problem that shows up as cracked interior paint or a soft sill months later.
Stucco patch texture is its own skill. A DIY job that’s watertight can still look obviously patched, which is a visible hit on curb appeal in neighborhoods where homes sit close to the street. If you want the finished wall to disappear into the original, this is not the step to learn on. Reviewing window replacement options with a specialist who handles stucco detailing every week protects both the wall and the warranty.
What a Botched Installation Costs to Fix
A failed DIY installation rarely costs only the price of reinstalling the window. The real expense spreads across several trades, and the fixes aren’t always obvious until the damage has had a season or two to develop. Here’s what a correction usually involves:
- Re-installation labor – removing the window, re-flashing, and re-setting it properly
- Stucco repair – cutting out failed patch, repairing the substrate, and re-texturing to match
- Moisture remediation – drying the wall cavity, replacing any rotted framing or sheathing, and treating for mold if the leak has been active
- Drywall and interior repair – patching painted surfaces, replacing damaged drywall, and repainting to blend
- Replacement of the failed IGU – if the seal has already fogged and no warranty applies
Bundled together, an undo-and-redo project often costs more than the original professional installation would have from the start. That outcome stacks against the labor savings you were trying to capture. And when a fogged unit has to be replaced without warranty coverage, you’re paying full replacement cost on top of the correction work already underway.
Windows in Paradise take a hard thermal test. West and southwest facing glass runs hot every summer, and an installation that isn’t flashed correctly can trap moisture on the interior side of the wall at the same time. Moisture plus heat plus a slow leak into stucco is a recipe for repair bills that show up in stages. Getting the installation right the first time is the cheapest version of the project.
The Narrow List of Genuinely DIY-Friendly Tasks
Not every task on a window project belongs to the installer. Several finishing touches sit safely within reach of a confident homeowner, save real labor cost, and don’t touch warranty terms. Here’s where DIY makes sense in Paradise:
Interior trim and paint. Casing, baseboard returns, caulk, and paint on the room side are finish work. They don’t affect the seal, the flashing, or the warranty. If you’re comfortable with a miter saw and a caulk gun, this is a legitimate place to save money.
Hardware swaps. Replacing handles, sash locks, and operators on existing windows is a parts-matching exercise, not a construction job. Match the manufacturer’s replacement hardware and you’re in safe territory.
Screen replacement and cleaning. Rescreening and routine cleaning don’t interact with the sealed glass unit or the flashing. A spray bottle and a fresh roll of spline is a weekend task.
Blind and shade installation. Mounting new window treatments after installation is straightforward and doesn’t touch the window assembly.
Everything that penetrates the wall, integrates with stucco, or sets the sealed unit inside the frame belongs with an installer. That line is worth holding. The savings from DIY finishing are real; the risk from DIY installation is concentrated in exactly the steps you can’t see once the stucco is patched back over. If you’re planning a project, our window installation process starts with a measurement and scope review that clarifies exactly where the installer’s work ends and yours begins.
Nevada Licensing, Permits, and Resale Disclosure
Nevada requires a licensed contractor for most construction work on a home, and window replacement generally falls inside that rule. When a homeowner performs the work on their own primary residence, exemptions can apply – but the picture shifts quickly once the work is more than minor repair and once you intend to sell. In Paradise, where resale is common, the paperwork side of a DIY installation can come back to the surface years later.
Three practical points to plan around:
- Pull permits where your jurisdiction requires them. Window and door replacements often require a permit, depending on scope and jurisdiction. Check with the city or county building department before work begins, not after.
- Keep the documents. Manufacturer paperwork, installation method, product specifications, and permit sign-offs all matter at resale. A buyer’s inspector will look at the openings, and missing documentation invites questions.
- Disclose improvements truthfully. Nevada resale disclosures require sellers to report material facts about the home, including improvements. A DIY installation of a substantial project typically needs to be disclosed, and the lack of permit history can become a negotiation item.
A licensed contractor and a pulled permit protect you on all three fronts. The inspection sign-off becomes part of the resale file, and the installation method follows the manufacturer’s specification rather than a best guess. That’s the durable value of hiring within the trade, and it’s why we keep the specialty narrow: windows and doors are all we do, so the permit and inspection path is routine rather than an exception.
Doors Are a Different Conversation
Entry door replacement sits somewhere between window installation and a full rough-carpentry project. On a Paradise stucco home, an exterior door swap touches the wall opening, the threshold, the flashing sequence, and the frame anchoring – several of the same failure points as a window, plus the security considerations of the lock set. That said, doors offer more design latitude, and the product line matters to the finished look.
We install entry door solutions through Therma-Tru, one of North America’s most recognized door brands, because the door and the window upgrade often happen on the same project. A homeowner replacing a fogged slider in back and adding a new front door can handle both under one contractor relationship, with one scope of work, one crew schedule, and one warranty conversation. The Window Replacement Paradise approach to the project is to treat every opening on the home as part of the same conversation rather than separate orders.
Where DIY holds up on doors:
- Interior door slabs swapped into existing frames with hardware transferred
- Hardware, kick plates, deadbolts, and strike plate upgrades
- Weatherstripping replacement and threshold sweeps
- Painting and staining the door and trim
Where it doesn’t: any exterior door that requires cutting a rough opening, re-flashing the wall, or working with a pre-hung unit in stucco. Those steps carry the same warranty and moisture risk as window installation, with a security component layered on top. A lock set that doesn’t seat cleanly in a frame is a real vulnerability, and correcting it later means pulling the door and reworking the opening.
Matching Product to Home Instead of the Other Way Around
One more piece of the DIY-vs-pro decision is product choice. A homeowner buying a window at retail usually picks from a single manufacturer’s catalog shelf. A specialist contractor works from a hand-picked lineup, which means the product can be matched to the home – climate risk, energy performance, aesthetic tier, and budget – instead of the other way around. That range is what makes the professional route more than labor: it’s the product match too.
In Paradise, three product filters come up most often:
- Impact-rated performance – for homes that need storm or security performance, product lines through PGT and CGI offer rated assemblies that meet the manufacturer’s installation requirements. DIY installation generally voids the warranty on this class of product, which makes the installer choice critical.
- Energy efficiency for heat – low-E coatings, argon fill, and upgraded spacers pay back over the desert summer on west-facing walls. These options are available across several of our lines, and the right one depends on orientation and shade rather than the shelf label.
- Premium aesthetics – ViewLux gives homeowners a design-forward option when the frame profile and finish matter as much as the performance numbers. Mr-Glass offers a budget-conscious path that still holds the warranty line.
Our technicians have up to 9 years of experience across the eight-brand portfolio, and the point of that lineup is choice: impact-rated, energy-efficient, and premium aesthetic lines on the same project scope. When we walk a Paradise homeowner through the options, the recommendation is a fit for the house rather than a single pushed product. Call (855) 763-9014 for a free estimate and a written line-item quote on matched product.
Common Mistakes to Avoid
- Skipping the permit because “it’s just a window.” A permit is part of the resale file, and missing permit history becomes a negotiation item when you sell a Paradise home. Confirm the permit requirement before the project starts, not after.
- Flashing the opening upside down. Self-adhering flashing has to lap the layer below, with the sill first, then sides, then head. Reverse it and the wall looks finished while trapping water in the cavity. This is the single most common failure we see on DIY installations.
- Buying retail and expecting the warranty to follow. The IGU warranty on most performance glass requires installation by a qualified installer. A retail purchase from a big-box shelf typically doesn’t include installation by an approved installer, so the warranty coverage weakens at the moment you set the unit yourself.
- Setting a window in the sun. Foam and sealants behave differently at the surface temperatures of a Paradise summer afternoon. A window set in direct sun with the wrong product can compress or fail to cure, and the joint opens up over the next season.
- Patching stucco without matching texture. A watertight installation that reads as an obvious patch is a visible curb appeal hit. Texture matching is a skill, and getting it wrong is hard to hide.
- Installing an entry door without re-flashing the wall. An exterior door in stucco carries the same moisture risk as a window, plus the security question of a lock set that doesn’t seat cleanly. Re-flash, or don’t cut the opening.
- Forgetting the paperwork. Manufacturer documentation, permit sign-offs, and installation method notes belong in the home file. A buyer’s inspector will ask, and the answer needs to exist on paper.
When to Call a Professional
Call a professional for anything that touches the wall, the flashing, or the sealed glass unit. That covers full window replacement, any stucco-cut opening, exterior door installation, and any project where the warranty matters. It also covers the case where the existing installation is already showing moisture damage – fogged glass, soft sill, or cracked interior paint near an opening – because that’s a remediation scope rather than a simple swap.
If you’re planning a project across a full home, working with a specialist keeps the scope consistent across every opening. Window Replacement Paradise offers free estimates in Paradise – call (855) 763-9014. We answer 24/7. Fast dispatch from 7am to 7pm, Sunday through Friday. Every quote is written line-item, and the installed price is set by that written estimate rather than by a moving target once the wall is open.
Frequently Asked Questions
In most cases, yes – DIY installation voids the insulated glass unit warranty on performance glass products, because the manufacturer requires installation by a qualified or certified installer. You may still own the window, but the factory-sealed glass assembly loses coverage. That’s the expensive part to replace when a seal fails in the desert heat. Call (855) 763-9014 for a free estimate – estimates are free.
Professional installation typically runs a labor premium per window over DIY, and that premium buys the warranty path, the stucco detailing, and the permit coverage. A DIY project saves the labor line but can forfeit IGU warranty coverage and may require stucco repair, moisture remediation, and drywall work if the installation fails. The written estimate sets the final price on the professional route. Call (855) 763-9014 to schedule a free estimate.
Yes – permit requirements vary by jurisdiction and scope, and the specialist route includes pulling permits and seeing that inspections pass where they’re required. The permit sign-off becomes part of your resale documentation. For the specific scope on your home, call (855) 763-9014 and we’ll walk through it on the estimate.
Yes – interior trim, paint, caulk, hardware swaps, and screen replacement are all reasonable DIY work that doesn’t touch the warranty. The installer’s scope ends where the finish work begins, and the labor savings on the room-side finishing are real. Call (855) 763-9014 to discuss splitting the scope on your Paradise project.
A correction usually involves re-installation labor, stucco repair, moisture remediation, drywall repair, and possibly a replacement IGU – and the total often exceeds what the original professional installation would have cost. The exact range depends on how long the failure has been active and how much of the wall cavity has been affected. Call (855) 763-9014 for a free estimate on correcting an existing installation.
No – we work to the written line-item estimate, and the price is fixed per job by that written quote with no change orders for the scope described. If the wall reveals something unexpected, we stop and discuss it before doing any additional work. Call (855) 763-9014 for a free estimate and a written line-item quote.
The Bottom Line
DIY window installation in Paradise looks like a labor saving and usually isn’t one. The IGU warranty typically requires a qualified installer, stucco detailing punishes small flashing errors, and Nevada resale disclosure treats homeowner-installed improvements as a paperwork item that comes back at sale. The genuinely DIY-friendly slice is narrow – interior trim, paint, hardware, screens – and it doesn’t touch the wall, the flashing, or the sealed glass. Everything else belongs with a licensed installer who works within the manufacturer’s method, keeps the warranty active, and leaves the wall looking original. Call (855) 763-9014 for a free estimate. We answer 24/7. Fast dispatch from 7am to 7pm, Sunday through Friday. Written line-item quotes, permits pulled and inspections passed, and workmanship warranty on every project.
Written by the team at Window Replacement Paradise.
See the difference
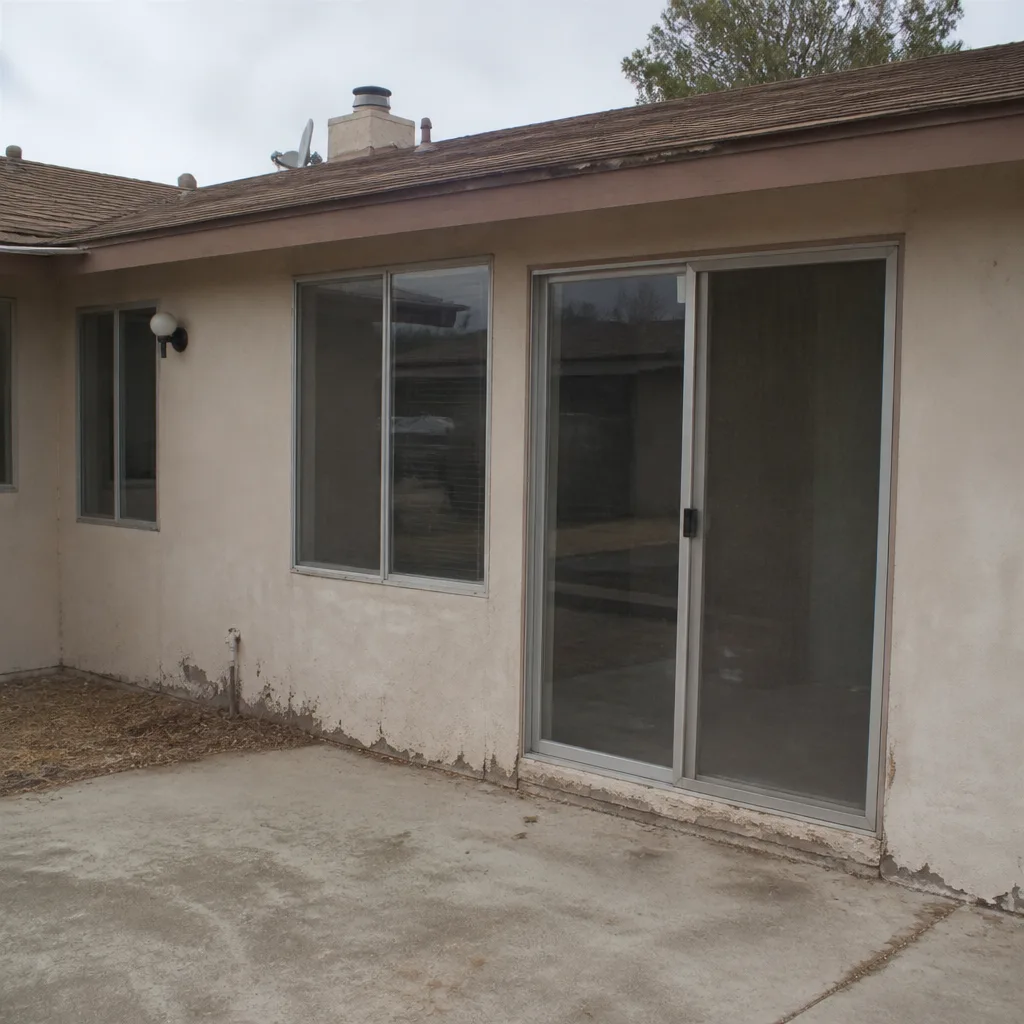 Before
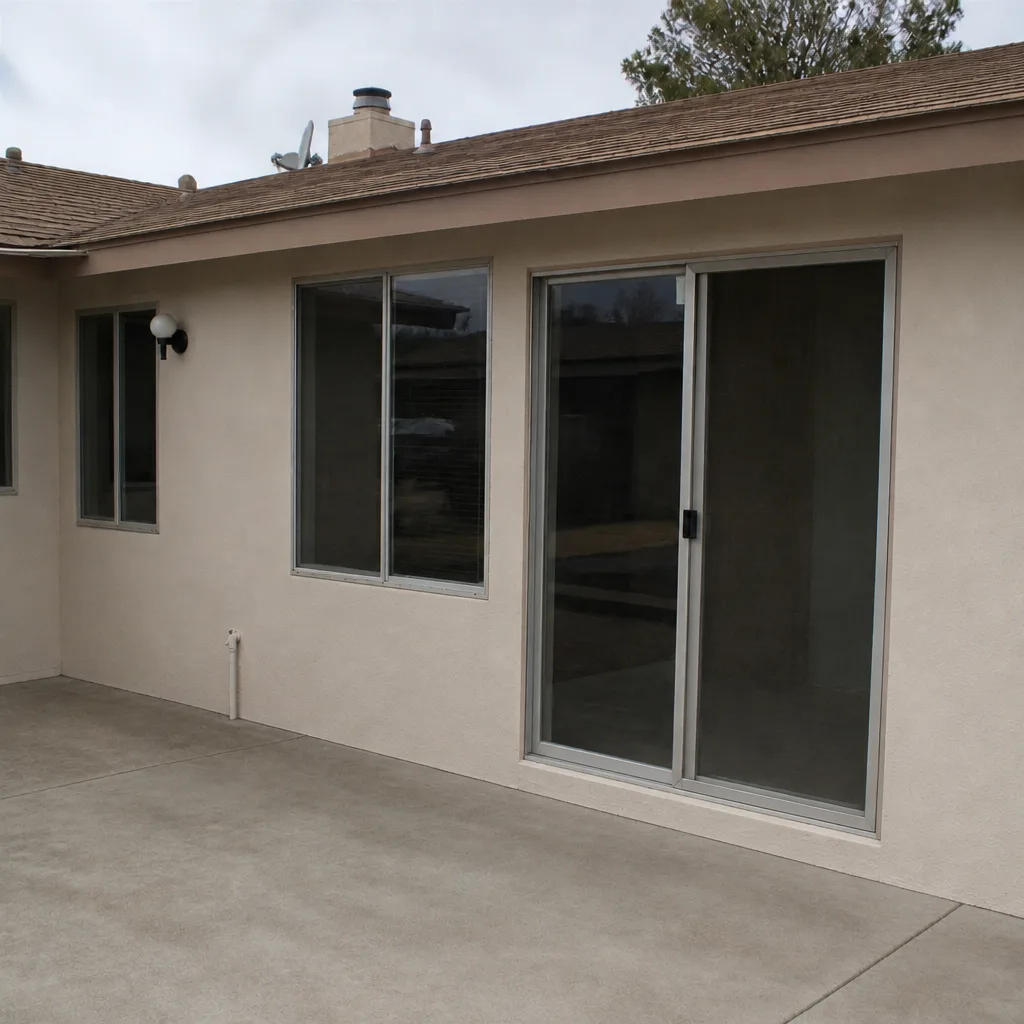 After
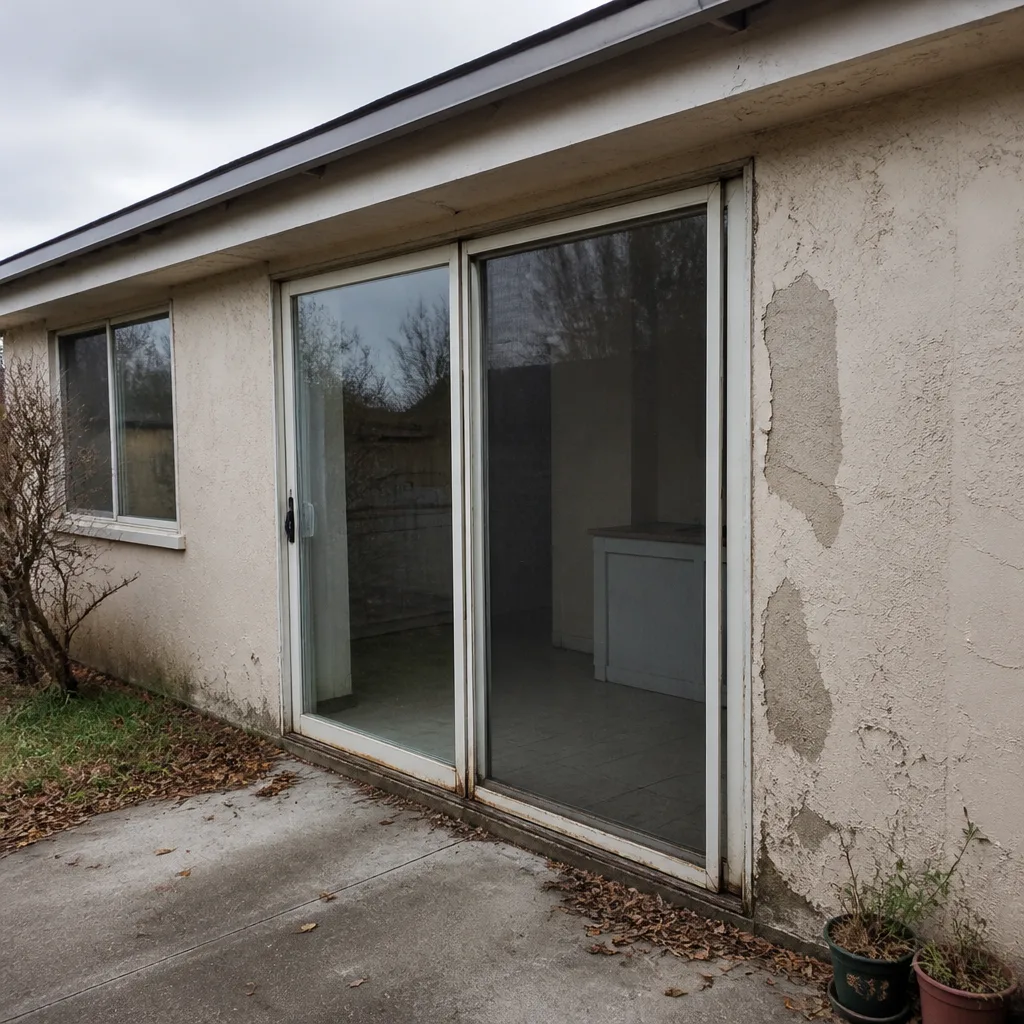 Before
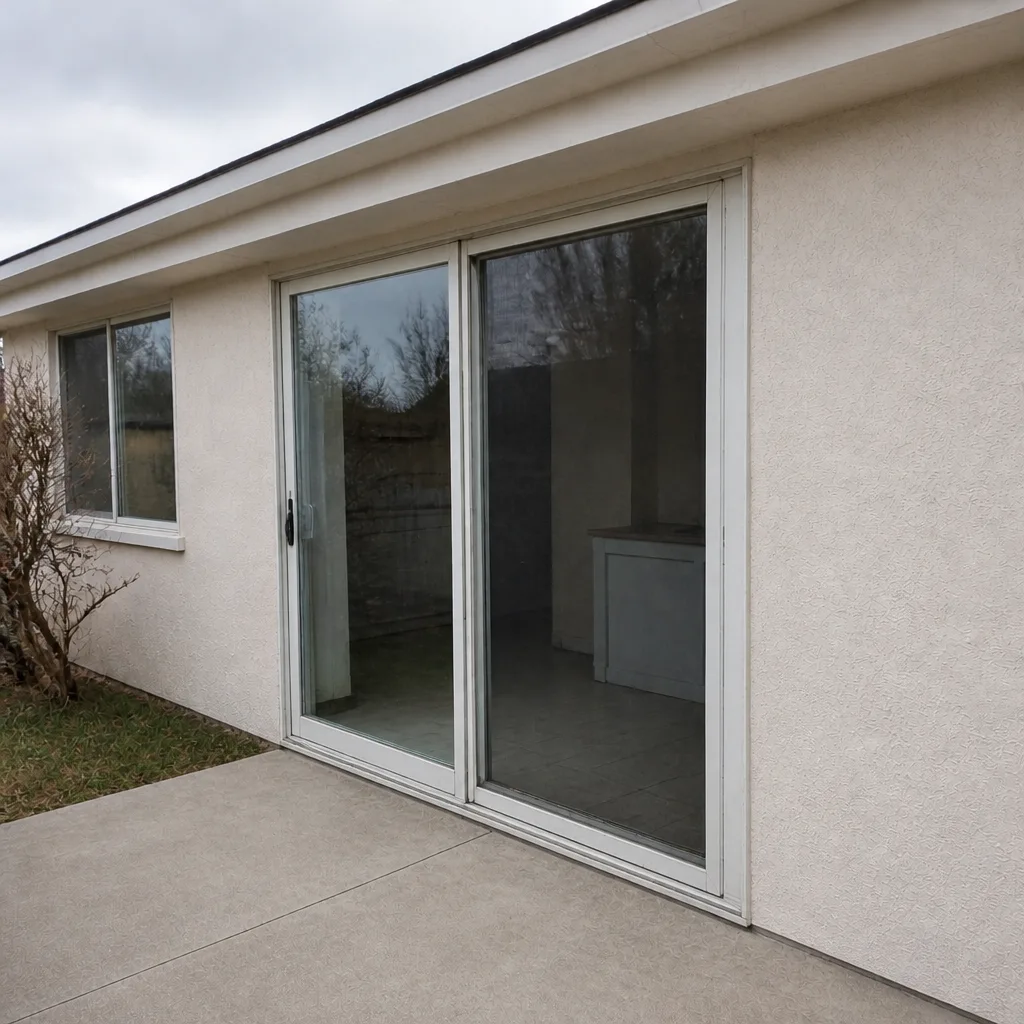 After
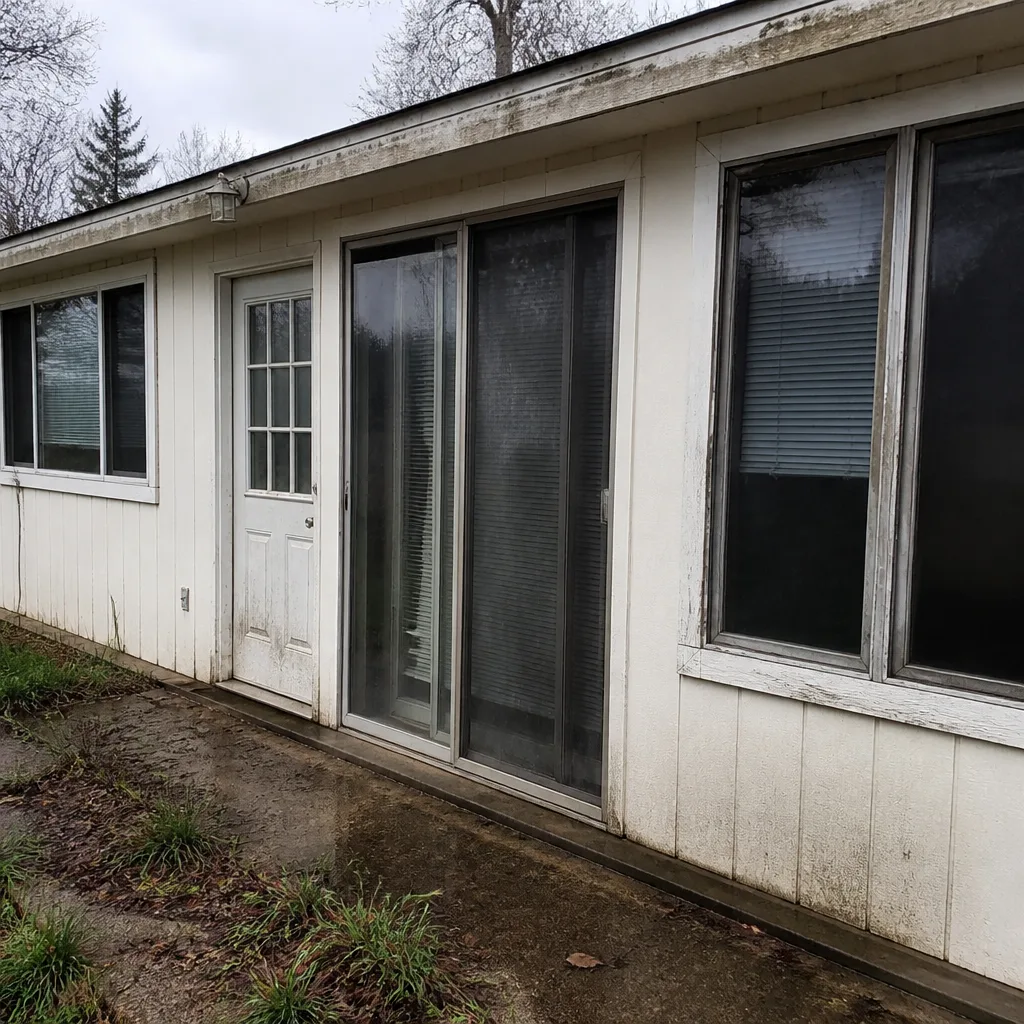 Before
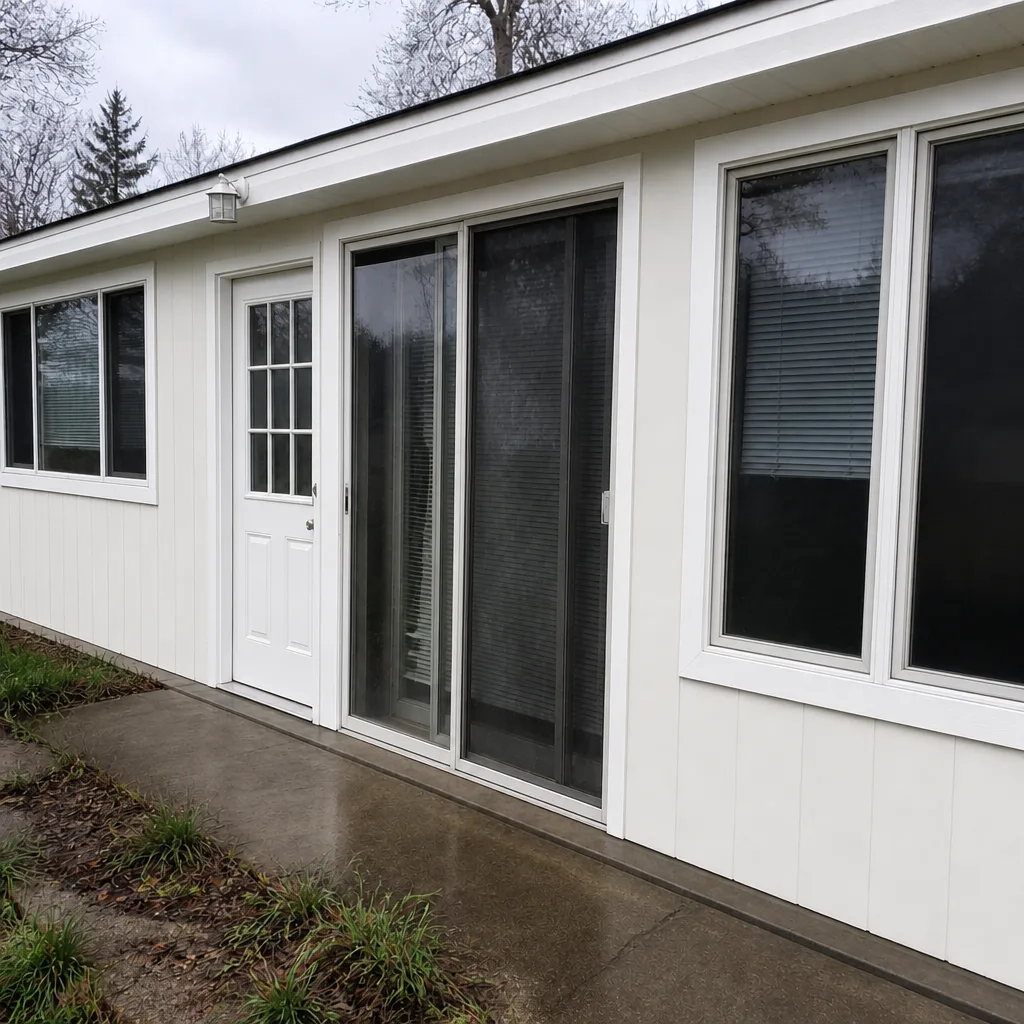 After